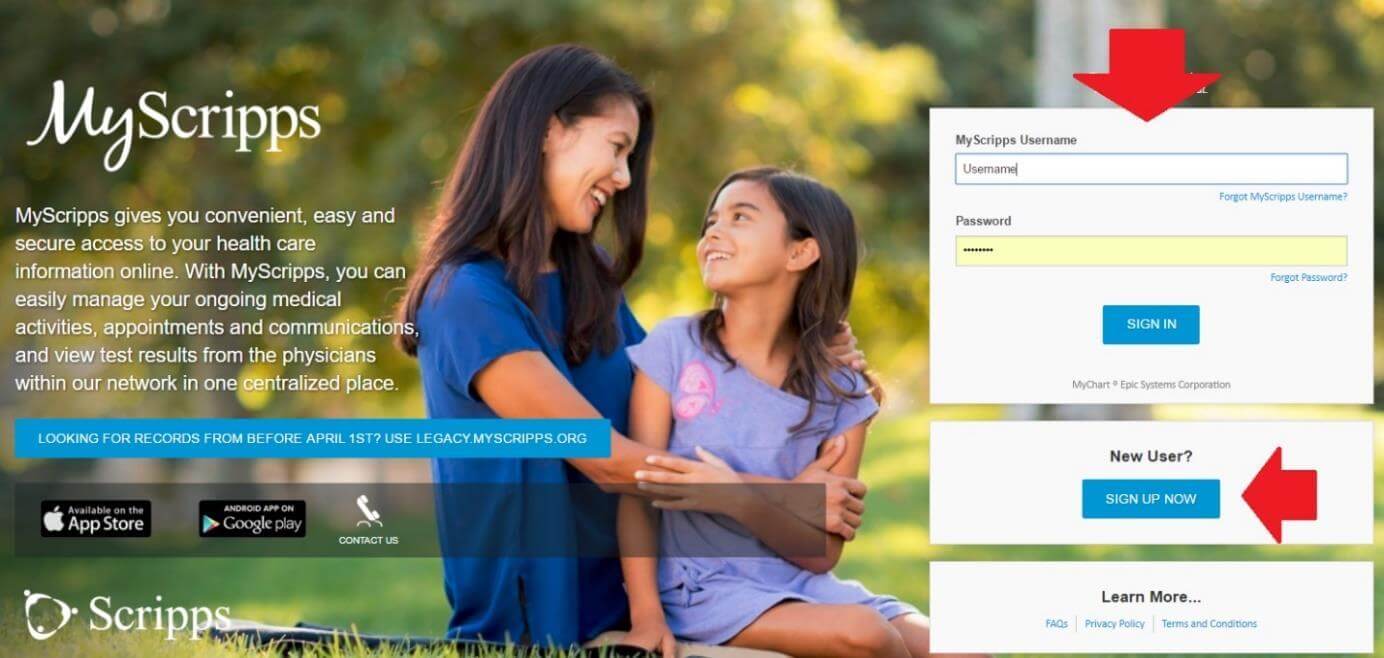
1. Go to https://myscripps.org/MyChart/default.asp and log in to your “MyScripps” account.
a. Step-by-step instructions to open a new account click: https://goo.gl/vVWp21
Search here..
1. Go to https://myscripps.org/MyChart/default.asp and log in to your “MyScripps” account.
a. Step-by-step instructions to open a new account click: https://goo.gl/vVWp21
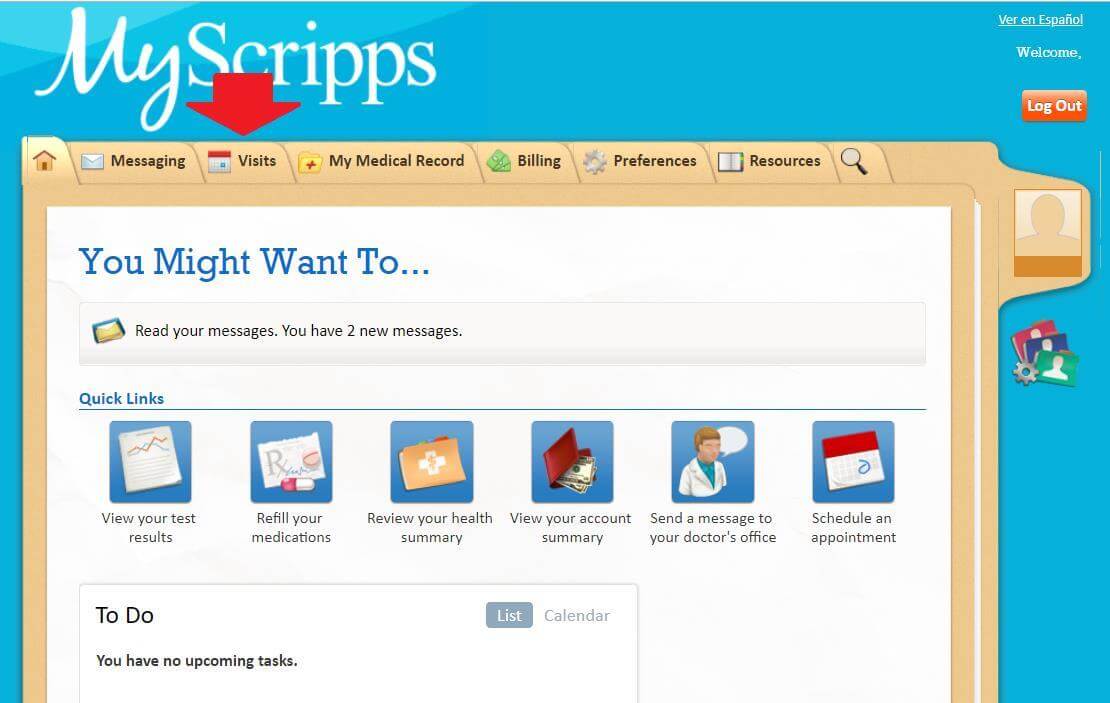
2. Your first page after login looks like this. Hover your cursor on top of “Visits”.
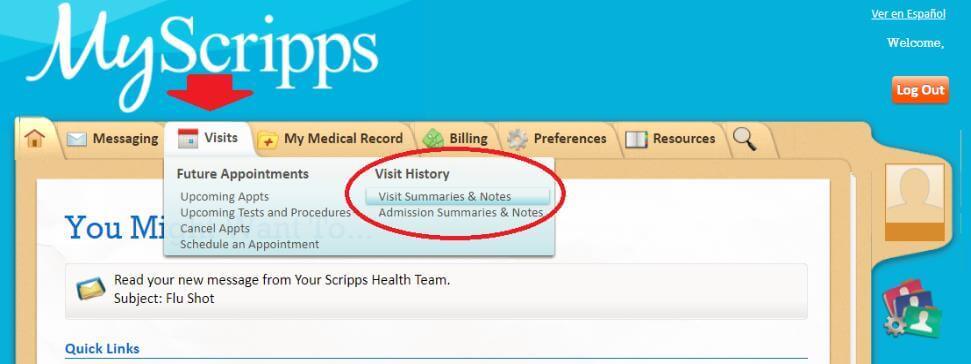
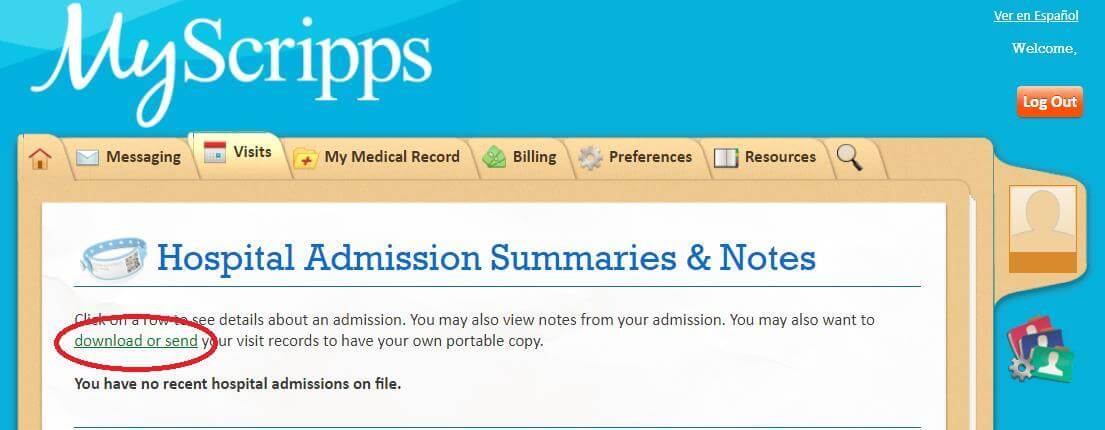
3. From dropdown window under “Visit History”, select “Visit Summaries & Notes” or “Admission Summaries & Notes”.
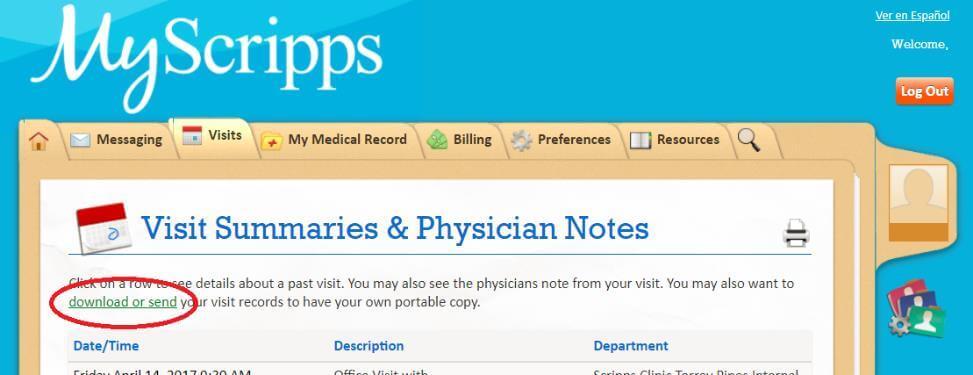
4. Click on “download or send” link on Visit Summaries or Hospital Admissions page.
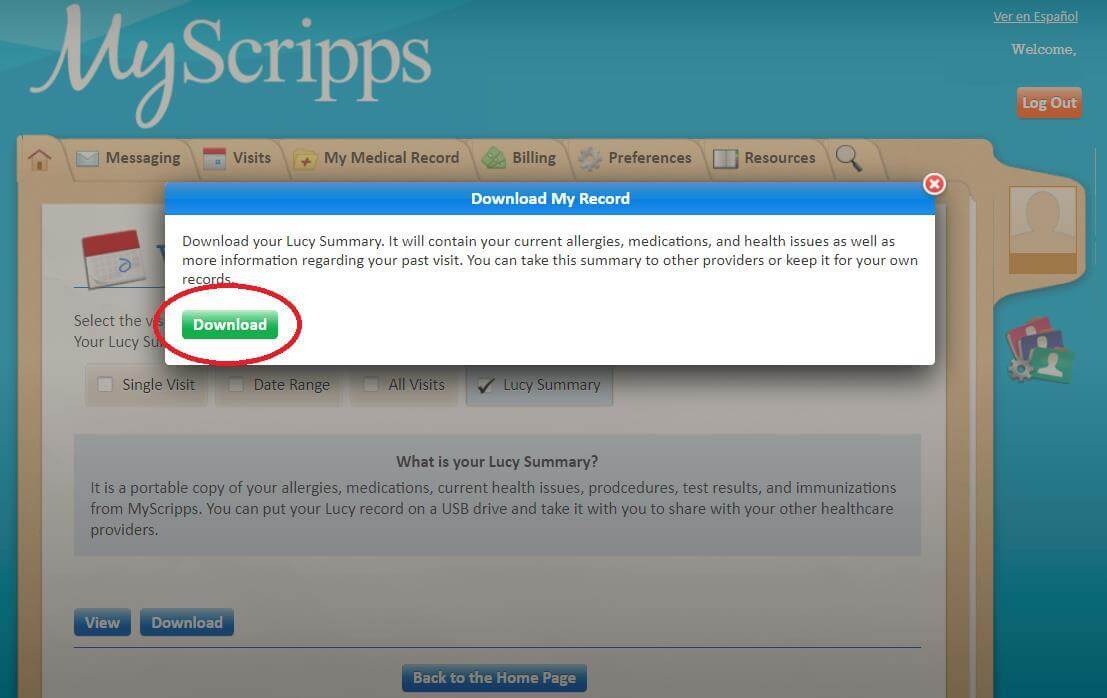
5. Select “Lucy Summary” to download all of your data in a single file. If you select “All Visits” it would download separate file for each visit. Click on “Download” button.

6. A dialog box appears, please click on “Download” button again.
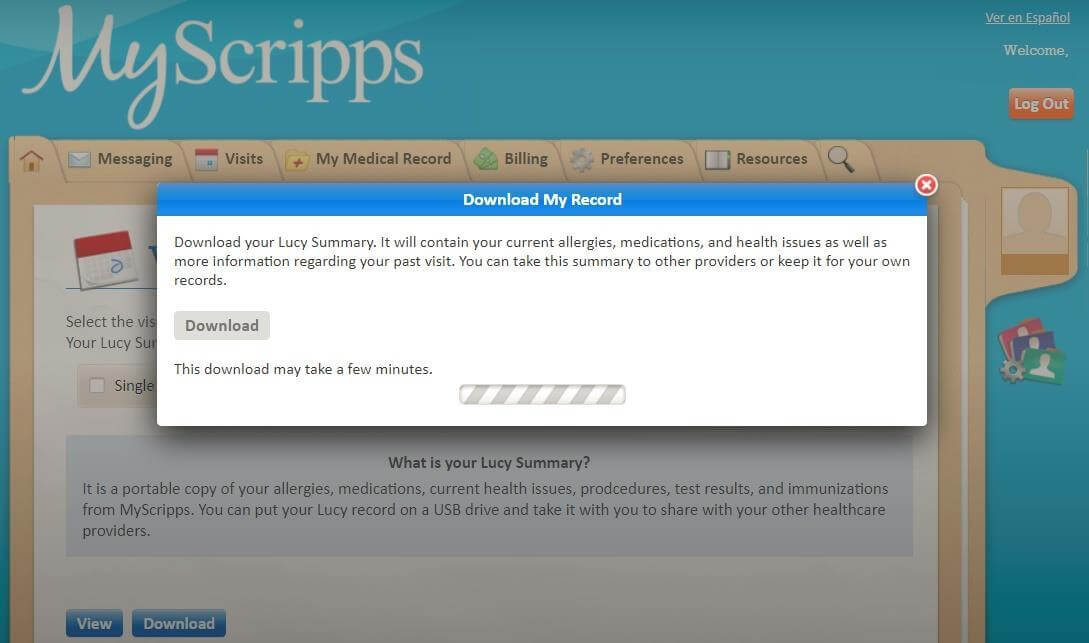
7. It may take few minutes for the system to prepare your download file. Be patient!
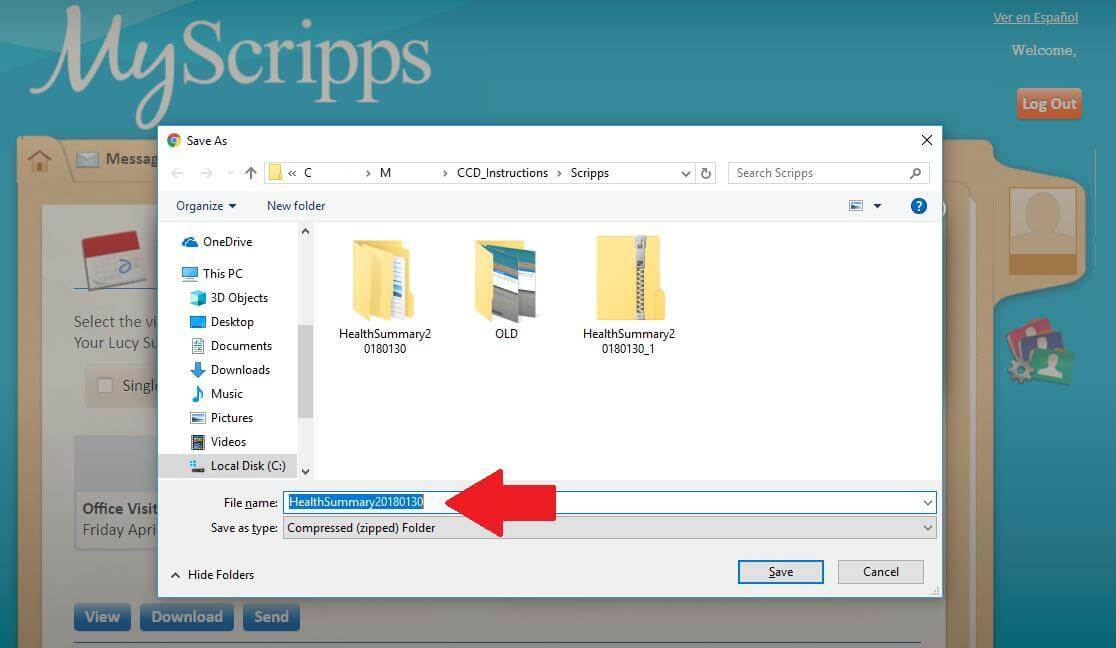
8. Remember the name of the download file, which is type “zipped folder”. You can give a name of your choice and save at a location you will remember in the future. Click “Save”.
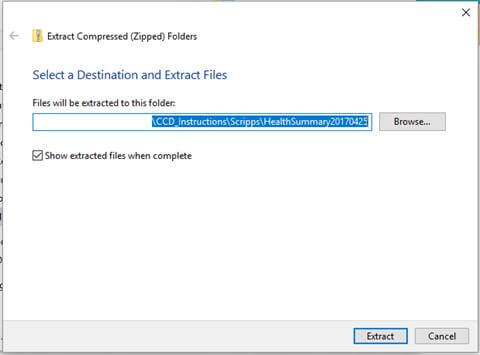
9. Navigate to the folder where you downloaded the file. Select and click on “extract” to unzip it.
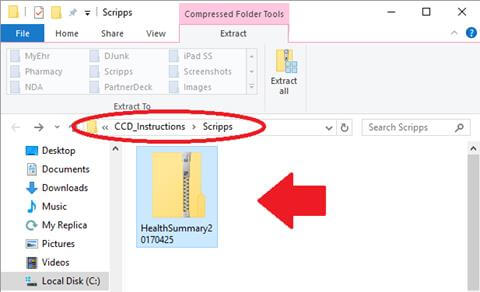
10. Save the new folder with your data onto the disk, giving it a name of your choice. The default name is “HealthSummary” followed by date it was downloaded – for example “HealthSummary20170425” Name it as something meaningful you’ll remember.
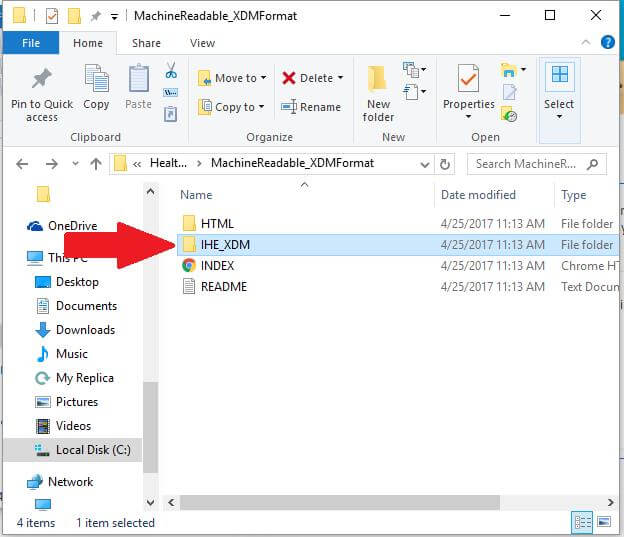
11. Open newly extracted folder. Your data to upload to ZibdyHealth is in there
12. Open “MachineReadable_XDMFormat” folder.

13. Click and open folder “IHE_XDM”.
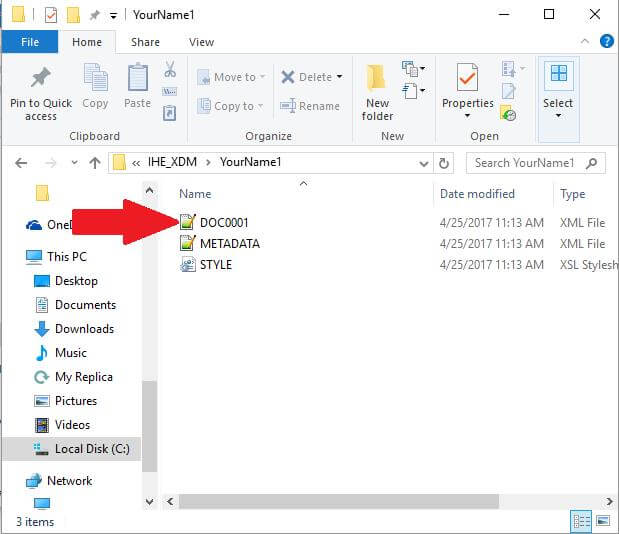
14. Click and open the folder with your name “YourName1”.
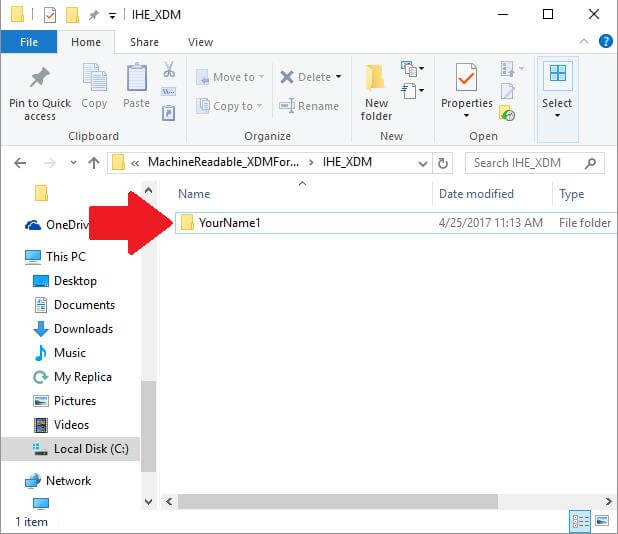
15. Success! You will need the file named “Doc0001”.
16. You can keep filename “Doc0001” or change the name before you upload to ZibdyHealth.
Upload CCD to Your ZibdyHealth Account (Learn more)
1. Login to your ZibdyHealth account.
2. From account page – click on personal information page.
3. From personal information page – click on consolidate medical records.
4. Click on browse button and navigate to the file you would like to upload and save.
5. Select records you would like to upload then click import button (we suggest simply select “All” at the top).
a. Please take this opportunity to review your records.
6. For step‐by‐step instructions and video please click use these links. https://goo.gl/L1FFpu
https://youtu.be/E9X6X8cqcxY
7. You are done!